
Effortless Product Photography on a Budget: The Ultimate Studio Setup Guide
Studio Setups: The Secret to Pro-Level Product Photography
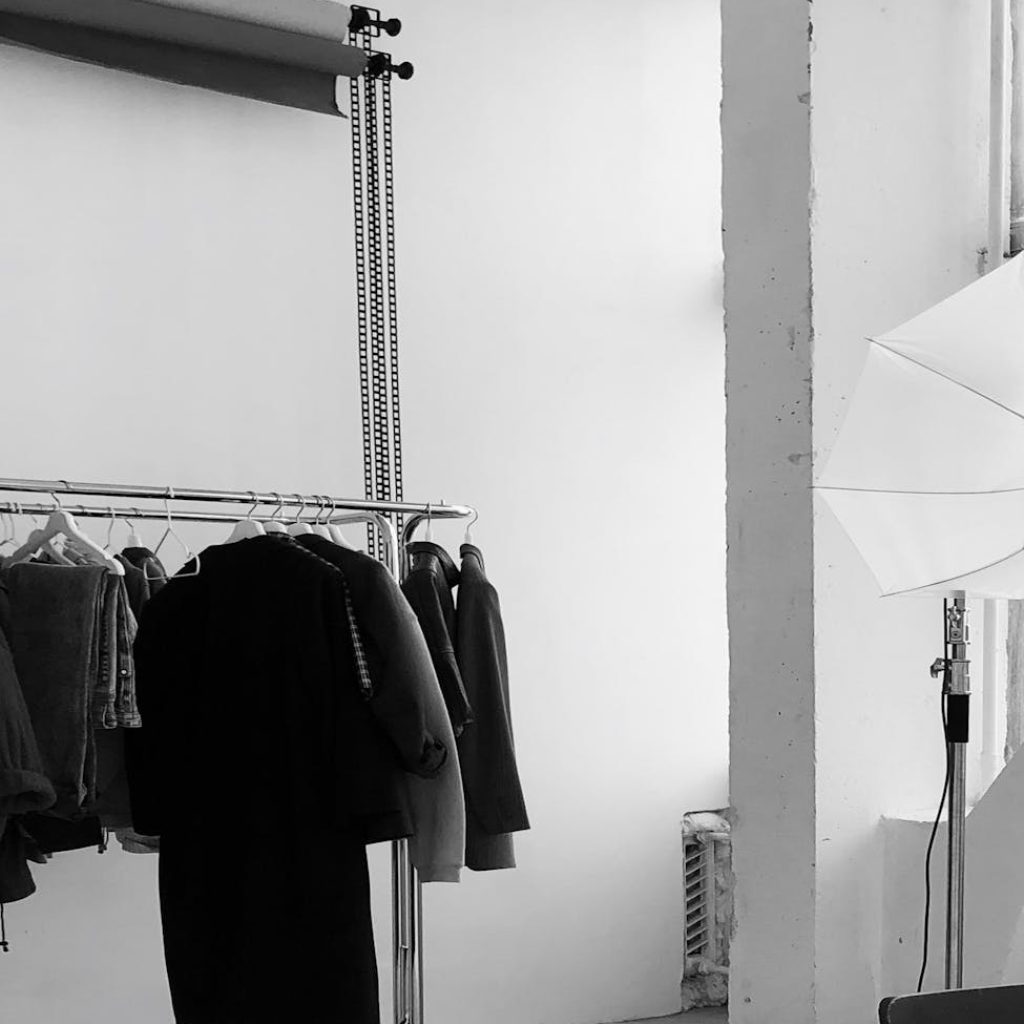
When it comes to showcasing your products in the best possible light, a well-crafted studio setup is the key to unlocking effortless product photography on a budget. As a creator, entrepreneur, or digital marketer, you know how crucial high-quality visuals are for driving sales, engagement, and brand credibility. But what if you could achieve professional-looking product photos without breaking the bank? In this article, we’ll reveal the essential studio setups and secrets to help you create stunning product photography on a budget.
The Importance of Studio Setups for Product Photography
A studio setup is more than just a backdrop and a few props – it’s a carefully crafted environment designed to highlight your product’s best features. A well-designed studio setup can:
Enhance product visuals and showcase details
Create a consistent brand aesthetic
Increase product perceived value
Drive sales and conversions
Essential Studio Setup Components
To create a professional-looking studio setup, you’ll need the following essential components:
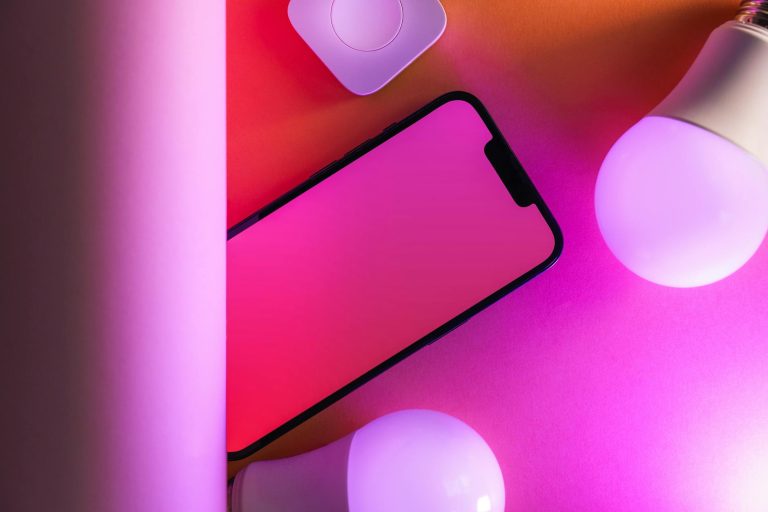
Lighting: Softbox lights, LED panels, or natural light
Backdrop: Paper roll, vinyl, or fabric
Table or Surface: Wooden, glass, or acrylic
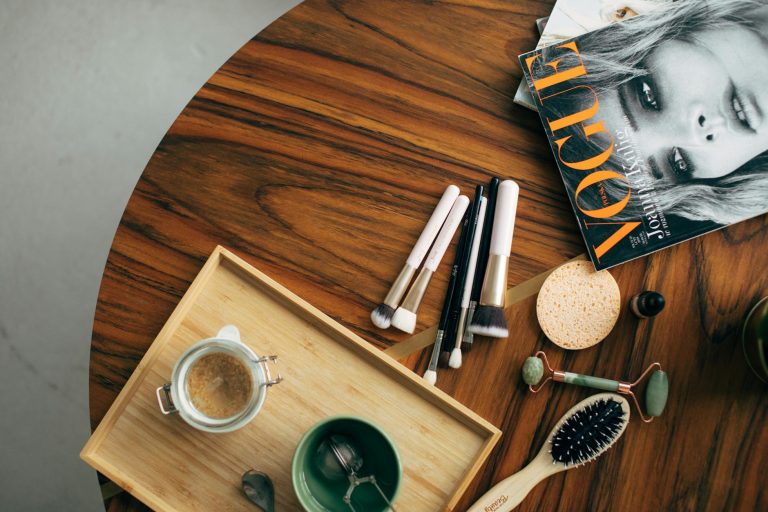
Props: Simple, complementary items to enhance the product
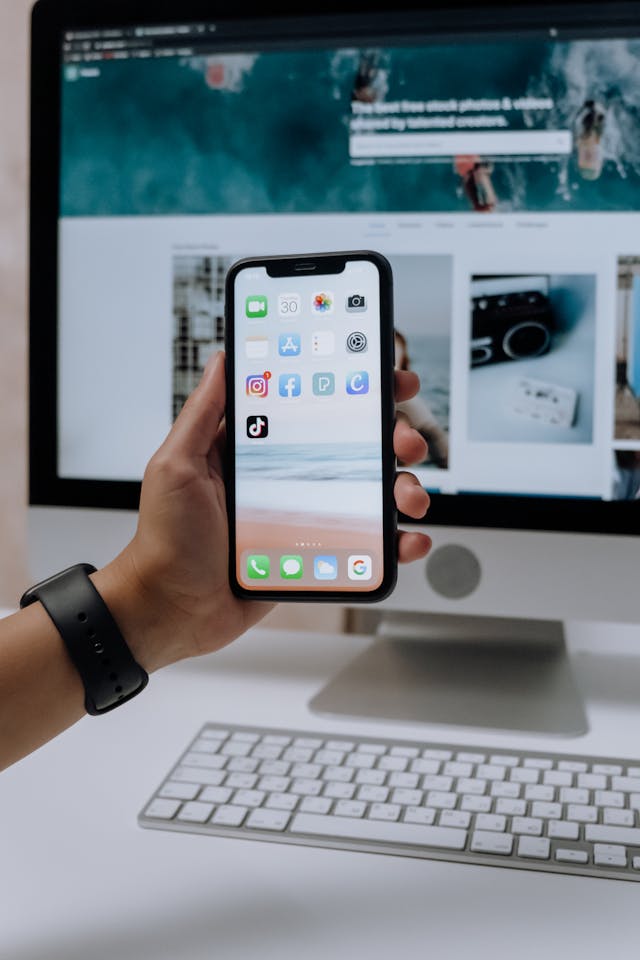
Camera: DSLR, mirrorless, or smartphone with a high-quality camera
Best-in-Class Studio Setup Options for Different Budgets
We’ve curated a list of studio setup options to suit different budgets, from DIY to professional-grade:
Budget-Friendly (Under $100):
+ IKEA paper roll backdrop
+ Softbox lights or natural light
+ Basic props like fabric, ribbons, or flowers
Mid-Range ($100-$500):
+ Vinyl or fabric backdrop
+ LED panels or a single softbox light
+ More advanced props like wooden blocks or geometric shapes
Professional-Grade (Over $500):
+ High-end LED panels or multiple softbox lights
+ Custom-made backdrop or a Cyclorama wall
+ Advanced props like 3D printed objects or bespoke designs
The Ultimate DIY Studio Setup Hack
For a budget-friendly option, create a DIY studio setup using:
A cardboard box or a wooden crate as a base
A paper roll or a vinyl backdrop attached to the box
Softbox lights or natural light
Basic props like fabric, ribbons, or flowers
5 Essential Rules for a Flawless Studio Setup
To ensure a seamless studio setup experience, follow these 5 essential rules:
Keep it Simple: Avoid clutter and keep the setup minimal
Balance and Symmetry: Use the rule of thirds and balance props
Lighting is Key: Experiment with different lighting setups
Product Placement: Position the product at the center of attention
Consistency is Key: Maintain a consistent aesthetic across all product photos
Best Practices for Capturing Stunning Product Photos
To capture stunning product photos, remember:
Use a Tripod: Stabilize the camera for sharper images
Shoot in RAW: Capture more image data for better editing
Experiment with Angles: Try different perspectives and angles
Pay Attention to Details: Focus on product textures, patterns, and details
Edit with Care: Enhance images without over-editing
The Power of Editing: Enhancing Your Product Photos
Editing is a crucial step in the product photography process. Use the following tools to enhance your images:
Adobe Lightroom: For basic adjustments and presets
Adobe Photoshop: For advanced editing and retouching
* Skylum Luminar: For AI-powered editing and filters
Conclusion:
Creating effortless product photography on a budget is within reach with the right studio setup and techniques. By investing in the essential components, following best practices, and editing with care, you can produce high-quality product photos that drive sales and engagement. Remember, a well-crafted studio setup is the secret to unlocking professional-looking product photography on a budget.